

Touchup and Repair Instructions for Cast Stone
Even with quality cast stone, jobsite handling, installation conditions, transport, or field modifications can sometimes lead to the need for touch-ups or repairs. When that happens, having clear guidance helps support a quality outcome.
Prevention & Expectations
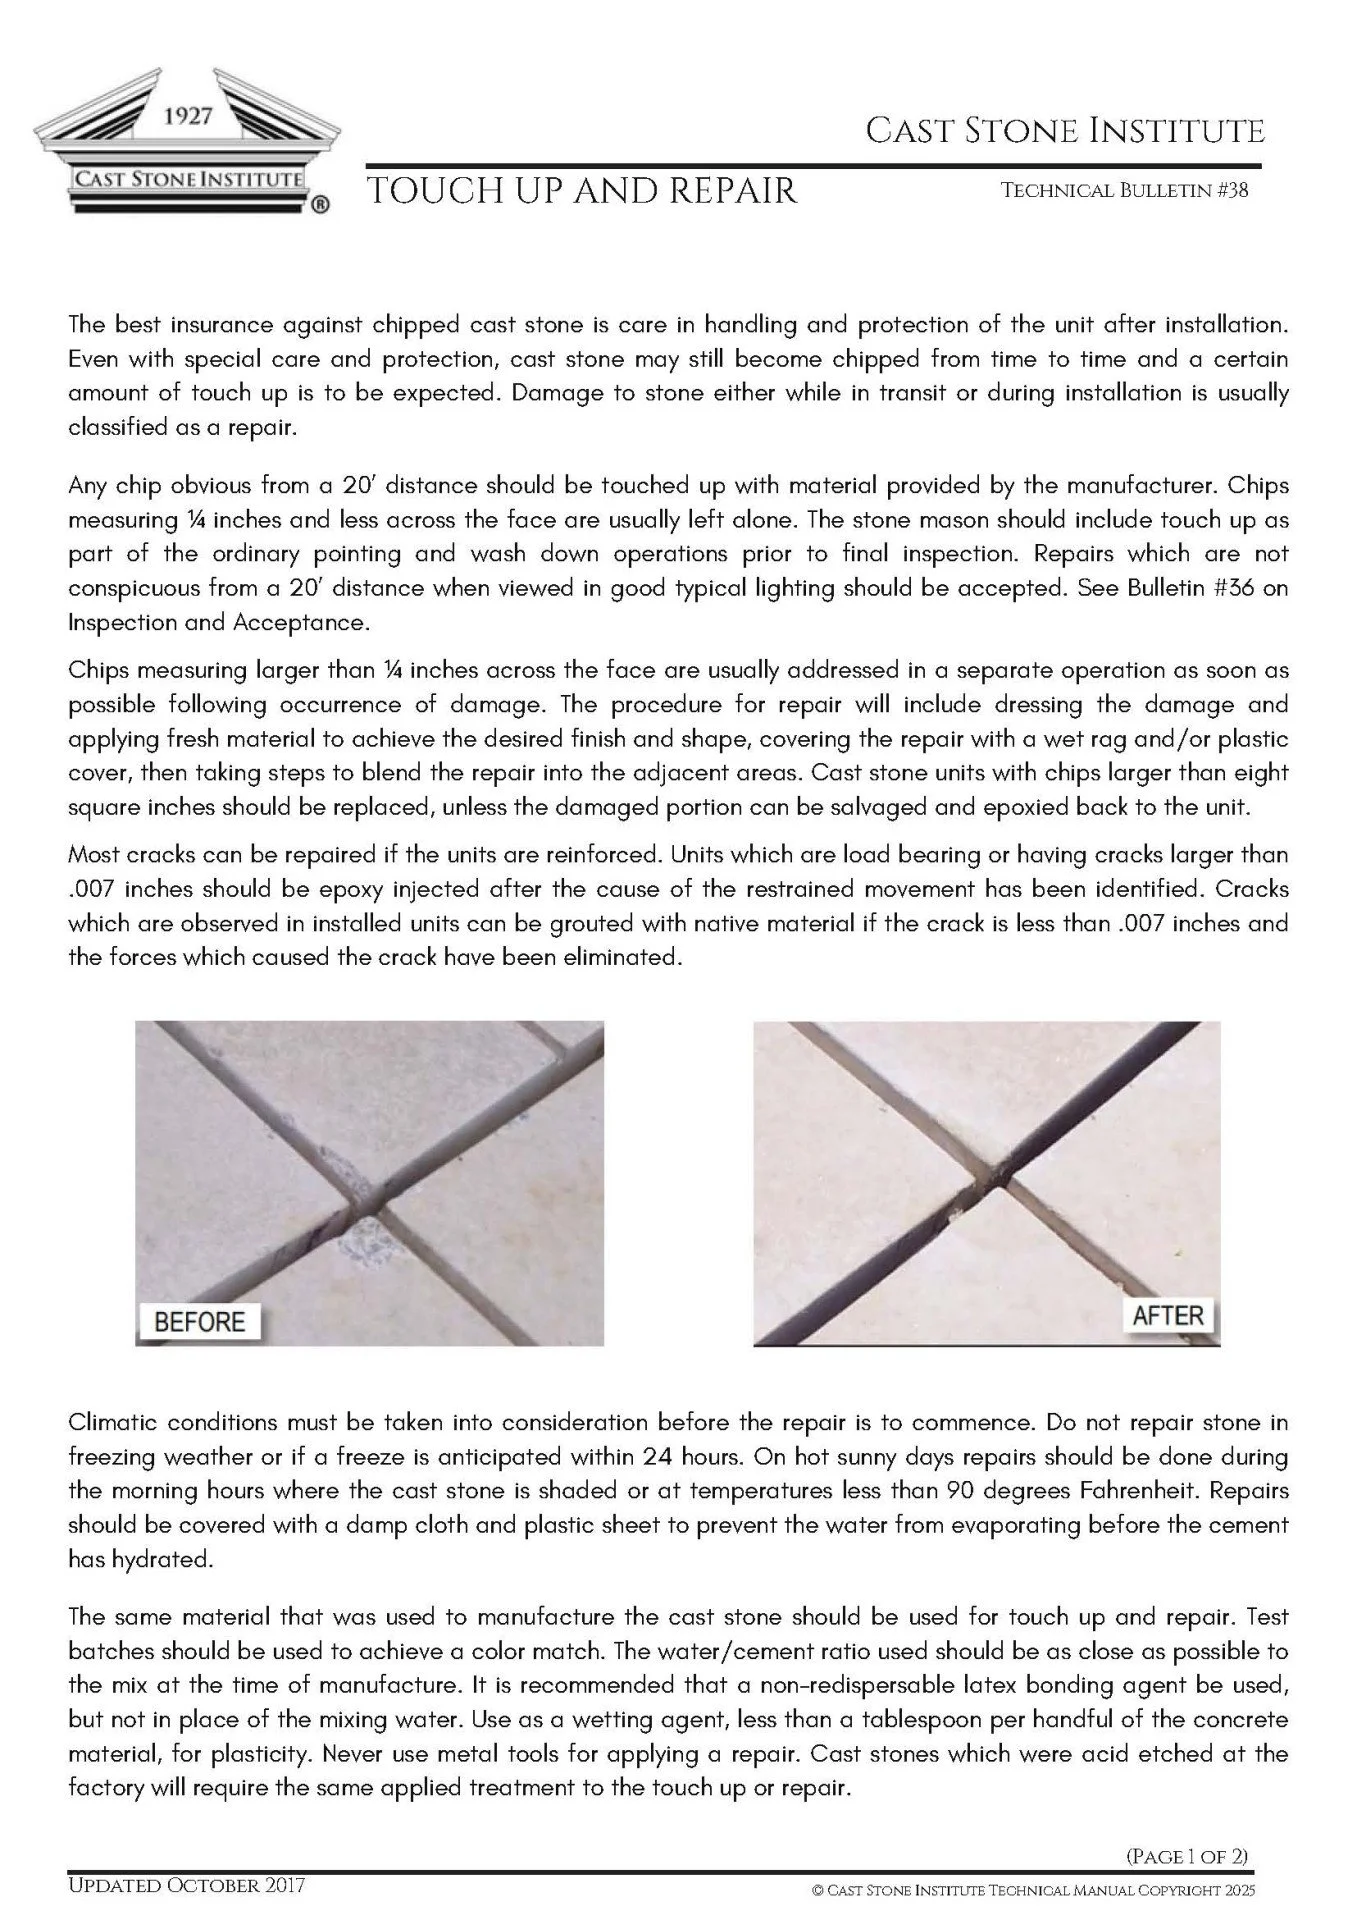
The best insurance against chipped cast stone is care in handling and protection of the unit after installation. Even with special care and protection, some touch-up is to be expected. Damage occurring during transit or installation is generally classified as a repair. Any chip obvious from a 20-foot distance should be touched up with material provided by the manufacturer.
Cracks & Structural Repairs
Most cracks can be repaired if the units are reinforced. Load-bearing units or units with cracks larger than .007 inches should be epoxy injected after the cause of restrained movement has been identified. Cracks in installed units less than .007 inches may be grouted with native material, provided the forces that caused the crack have been eliminated.
Weather & Climatic Conditions
Climatic conditions must be taken into consideration before repair work begins:
Do not repair stone in freezing weather or if a freeze is anticipated within 24 hours
On hot sunny days, repairs should be done in the morning hours when the cast stone is shaded or at temperatures below 90°F
Cover repairs with a damp cloth and plastic sheet to prevent water from evaporating before the cement has hydrated
Color Matching & Curing
A properly executed repair will not match in color immediately. Dry tamp produced cast stone will appear lighter where repaired; wet cast produced cast stone may appear darker. Through curing, weathering, and UV exposure, the repair will eventually return to the original stone color. This process can take three months to a year or longer depending on climatic conditions and weather exposure.
Chips & Minor Damage
Chips measuring ¼ inch or less across the face are usually left alone. The stone mason should include touch-up as part of ordinary pointing and wash-down operations prior to final inspection. Repairs that are not conspicuous from a 20-foot distance when viewed in good typical lighting should be accepted. (See Technical Bulletin #36: Inspection and Acceptance.)
Chips larger than ¼ inch across the face should be addressed as soon as possible following the occurrence of damage. The repair procedure includes:
Dressing the damaged area
Applying fresh material to achieve the desired finish and shape
Covering the repair with a wet rag and/or plastic cover
Blending the repair into adjacent areas
Cast stone units with chips larger than eight square inches should be replaced, unless the damaged portion can be salvaged and epoxied back to the unit.
Materials & Applications
The same material used to manufacture the cast stone should be used for touch-up and repair. Test batches should be used to achieve a color match. Additional guidance:
The water/cement ratio should be as close as possible to the original mix
Use a non-redispersable latex bonding agent as a wetting agent — less than a tablespoon per handful of material — but not as a replacement for mixing water
Never use metal tools for applying a repair
Cast stone that was acid etched at the factory will require the same treatment applied to the repair area
Looking to start with a trusted source?
Using a CSI Certified Cast Stone Producer supports strong quality control and can help reduce the need for repairs in the first place.
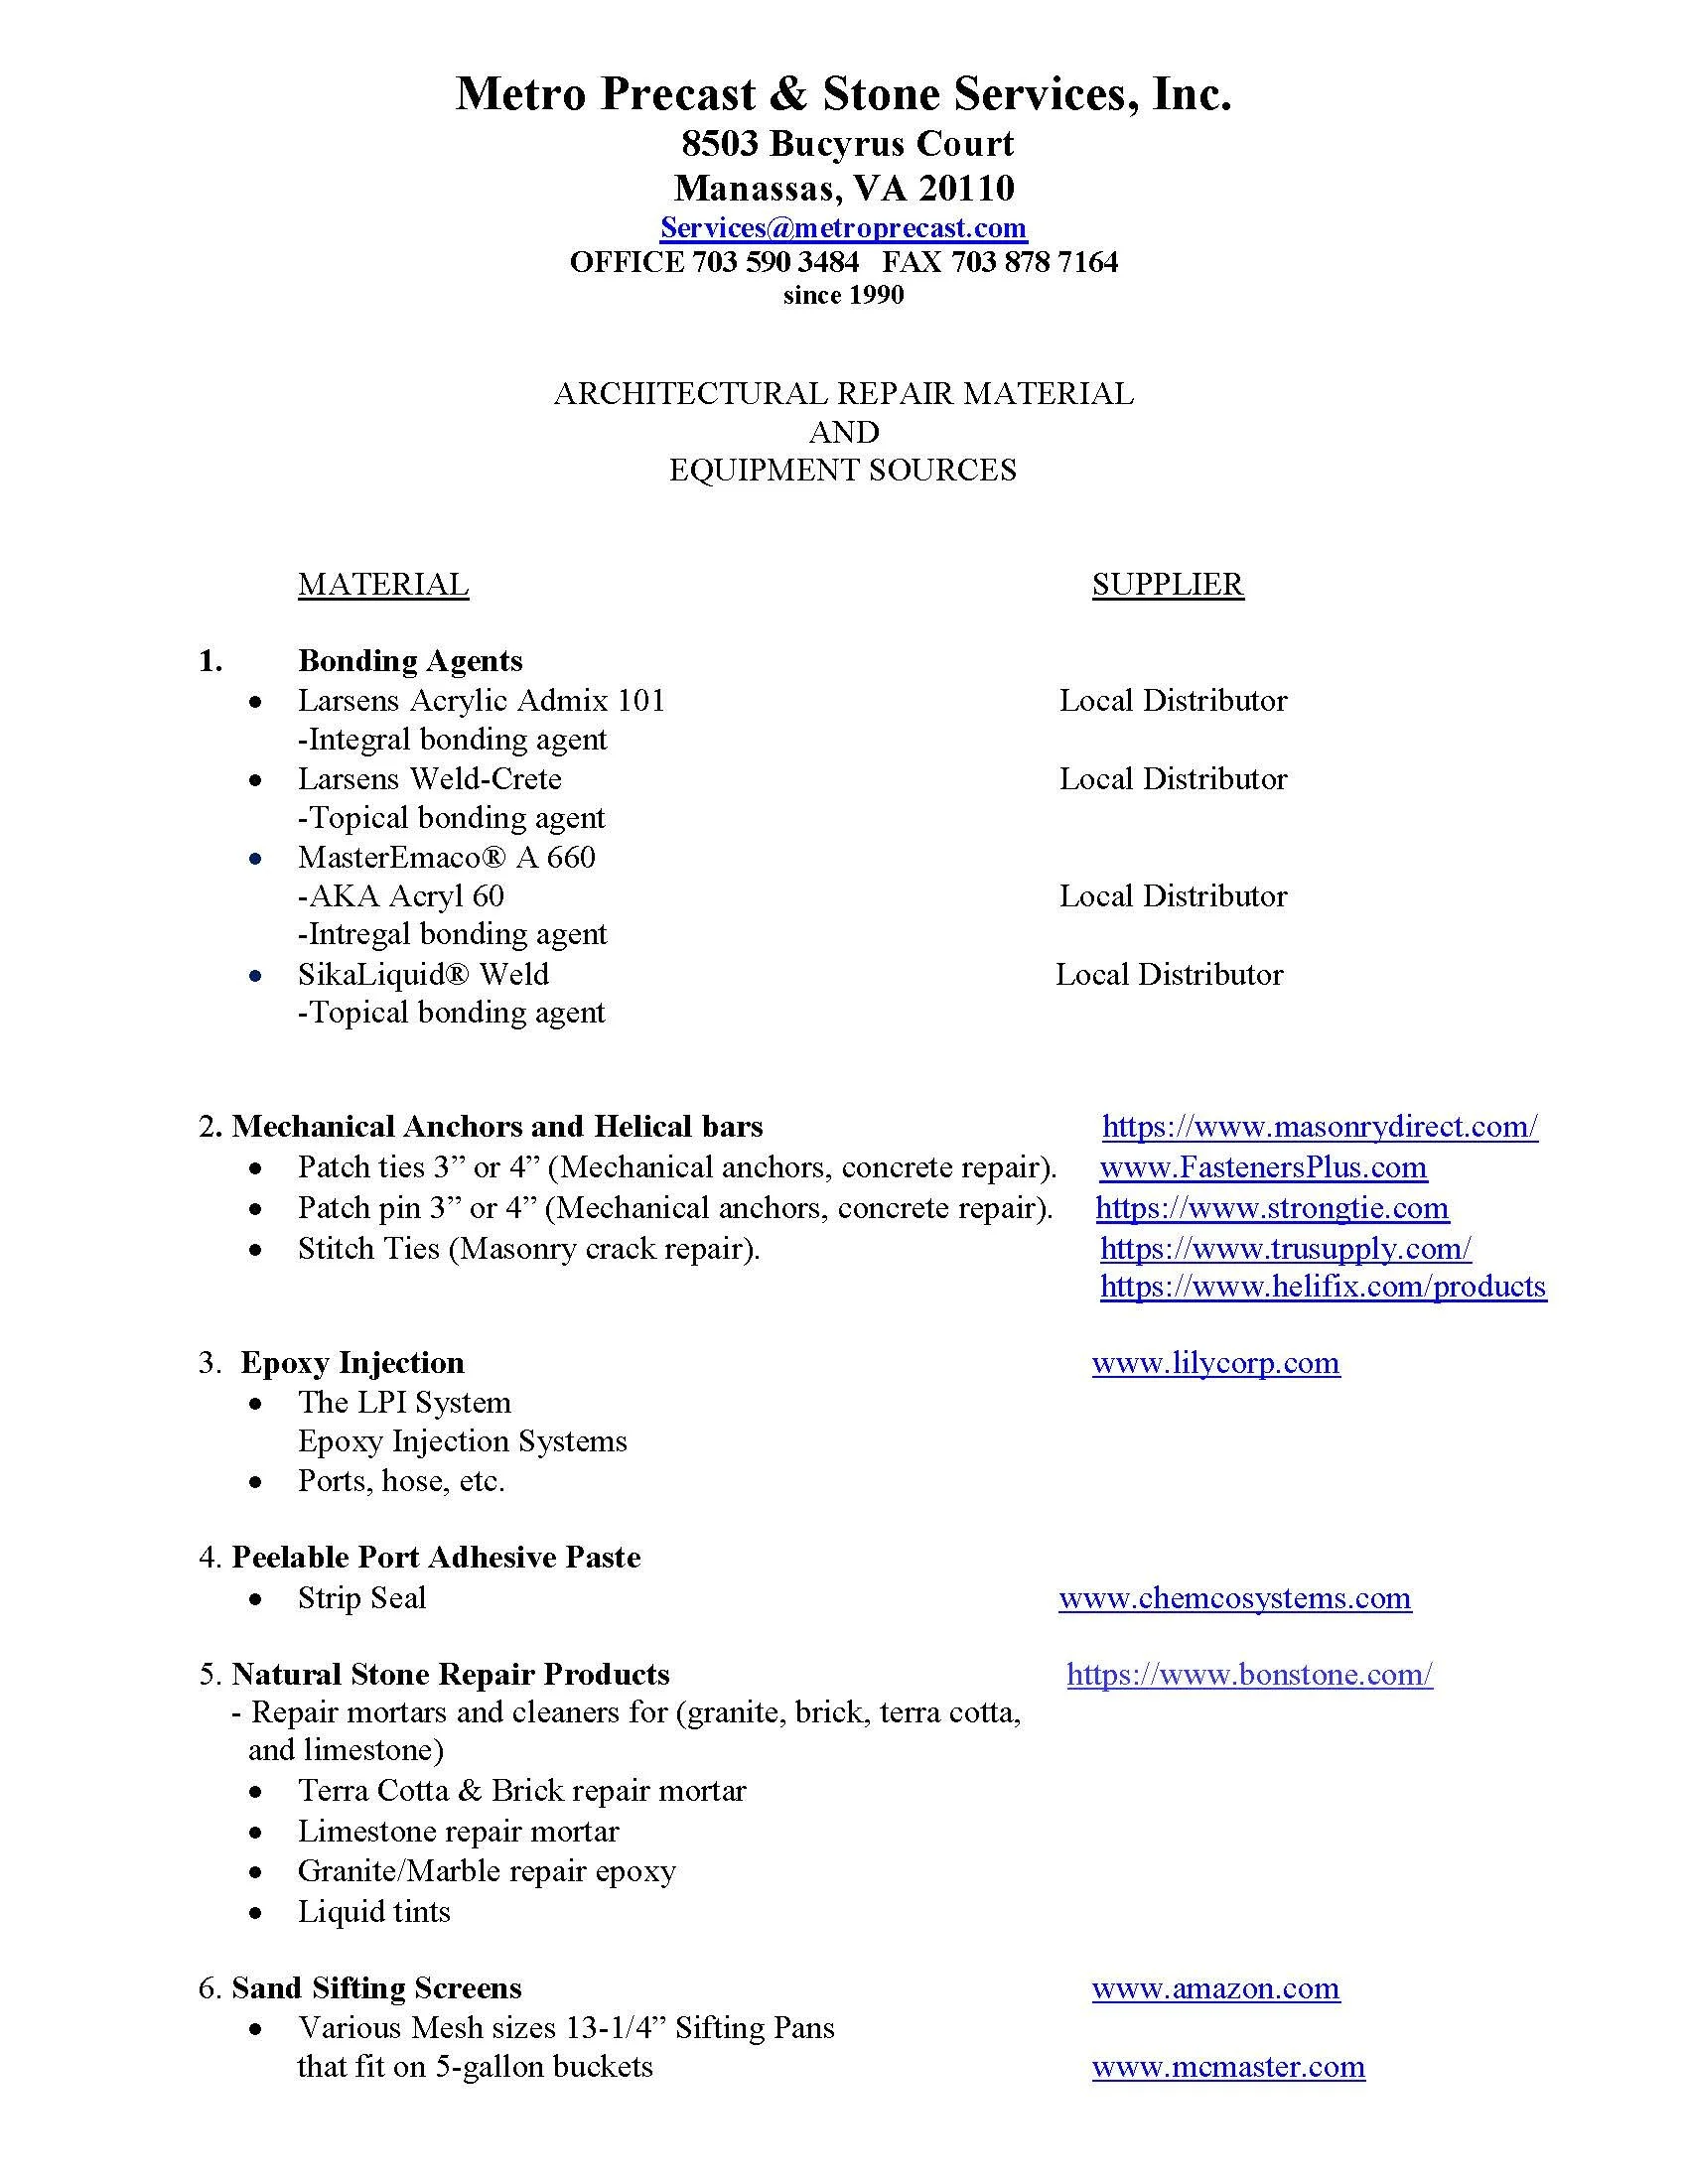
Downloadable Resources
These resources are provided to help contractors, producers, and other industry professionals better understand common repair considerations.
Guideline Notice
The above instructions are to be used as a guideline only. These rare provided for educational reference. Please contact your cast stone manufacturer, as they may have color-specific patch kits and other instructions available.
Even with quality cast stone, jobsite handling, installation conditions, transport, or field modifications can sometimes lead to the need for touch-ups or repairs. When that happens, having clear guidance helps support a quality outcome.